Setting up Jupyter Lab Instance on Google Cloud Platform

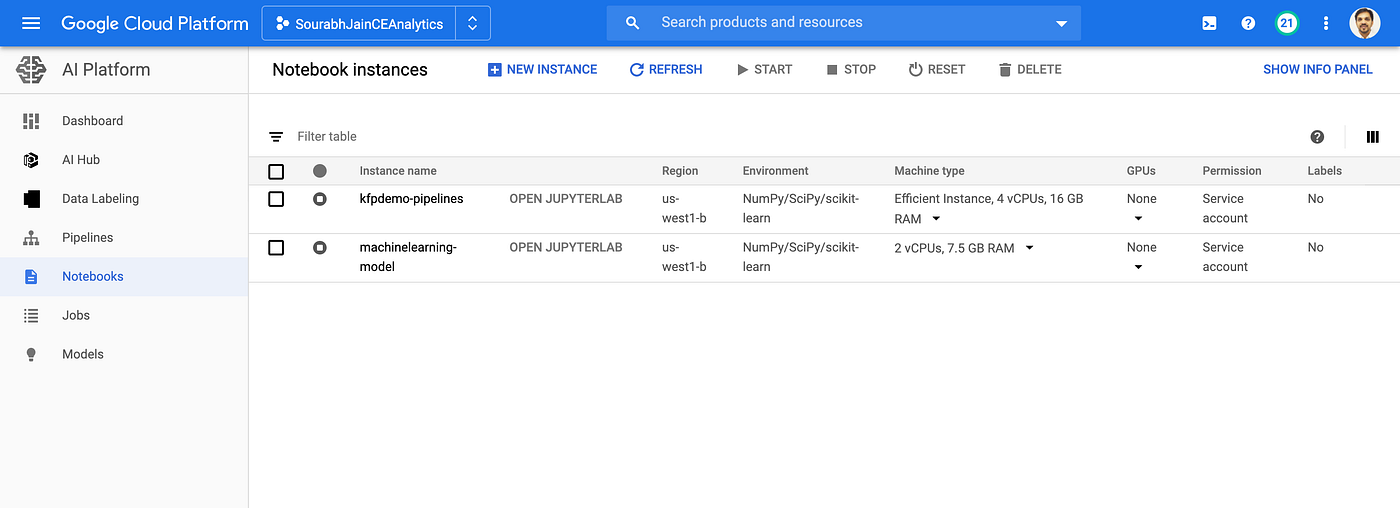
Google Cloud Platform very easy option to access Jupyter Lab instance via the Google Cloud’s AI Platform.
However currently the Jupyter Lab instances are not available for all regions. As of now while writing this article , the instances cannot be created for Mumbai region(asia-south1) and this leads to challenges as the data that needs to be analysed resides in Mumbai region(asia-south1). Hence we have 2 options i.e. either create the notebook in a nearby region and bear the egress cost or create a plain VM instance in our desired region and install Jupyter lab onto it. We will be looking today into the 2nd approach.
Goto Google Cloud Platform https://console.cloud.google.com/ and visit the Compute -> Compute Engine.

Click on “CREATE INSTANCE” to create a new VM instance. This will be instance on which we will deploy jupyter lab. GPUs are not available for all regions. Hence please ensure that if you plan to use GPUs immediately or in near future, select the region and zone appropriately where they are available. Provide the appropriate name, region, zone and the type of machine.

Increase the Boot disk size to 100GB.

Set the Access Scope to “Allow full access to all Cloud APIs” and enable both “Allow HTTP traffic” and “Allow HTTPS traffic”. Once the required details are provided, click on “Create” to create the instance.

Goto Networking -> VPC Network -> External IP Addresses

Goto the instance and change the Type from “Ephimeral” to “Static”. Provide an approriate name and click on “Reserve”.

Click on Firewall Rules on the left menu.

Click on “Create Firewall Rule”.
Provide appropriate name. Set Target to “All instances in the network”, source filter as “IP ranges” and Source IP ranges as “0.0.0.0/0”. Enable the tcp checkbox and set the value as 8888. Click on Create.

Go back to Home -> Compute Engine -> VM Instances. Select our VM instance and click on the SSH to connect to the instance.

Execute below set of commands once you are connected to the instance.
sudo apt update
sudo apt upgrade #Provide Y/yes as input when prompted.
sudo apt install python3-pipsudo pip3 install jupyterlab
exit
This will install the jupyterlab on your machine. Reconnect to the machine via SSH and execute below set of commands.
sudo jupyter serverextension enable --py jupyterlab --sys-prefix
jupyter lab --ip 0.0.0.0 --port 8888 --no-browser
The service will start and you will see the output as below. Please take a not of the token as we will need in next step.

Now open the web browser and put the URL as http://<<static ip of VM>>:8888. This will show the screen as below.

Provide the token as captured earlier and set the appropriate password.

Once provided, click on “Log in and set new password”. You will be able to get access to the jupyter lab.

Users can create the work and save it. Once the work is completed, the VM instance can be shut down to save the costs.
We can also create the start up command “jupyter lab — ip 0.0.0.0 — port 8888 — no-browser” as a startup service so that whenever we start the server , we don’t have to run the startup command again.